 RSS Feed
 Twitter
.jpg)
The flavor and smell of fresh herbs blows away any bottled
spice or herb we have sitting in our cupboards. It also guarantees that they
are NOT expired. There is also nothing more frustrating than
spending money on fresh herbs (especially organic), using two sprigs and then
watching the rest slowly die and mold because you didn’t use the rest in
time. It’s time to stop wasting your
money but also allow yourself to use fresh herbs in your cooking. What if you
had unlimited access to a variety of herbs in the comfort of you own backyard,
deck or porch? All it takes is a little
time, space and energy to create your own herb garden.
Step One: Pick Your Favorite Herbs
Here are some tips:
Rosemary: Prefers
a drier soil. Full Sun. Plants grow quite large, cut branches back by
few inches to keep shape and size you prefer.
Thyme: Prefers a
drier soil. Full Sun. Can be used as a ground cover.
Basil: Annual
Plant. Full Sun. Well drained soil. Water often in hot weather.
Oregano: Well
drained soil. Full Sun.
Cilantro: Well
drained soil. Full Sun. Cut before flowering occurs. If you let flower, it will turn into
coriander seeds (must leave flower to dry).
Chives: Well
drained moist soil. Full Sun. When flowers bloom, remove or seeds will
spread.
Parsley: Full to
partial sun. Prefers moist soil
More tips:
*Keep herbs weeded.
As is true with most plants, they do not like to compete for nutrients and
water.
*Many herbs do not take well to cold harsh winters. Many can be transferred inside and last all
winter long as long as they have enough sunlight.
Step Two: Choose Your Garden Location
Location can be the key to your herb garden. Sun is essential to many herbs, although
there are some that may not require the sunlight that others do. Be sure to read up on the herbs you decide to
grow to choose the best location.
Herbs can be easily grown indoors with the right amount of
lighting. Many herbs require 6-8 hours
of sunlight each day.
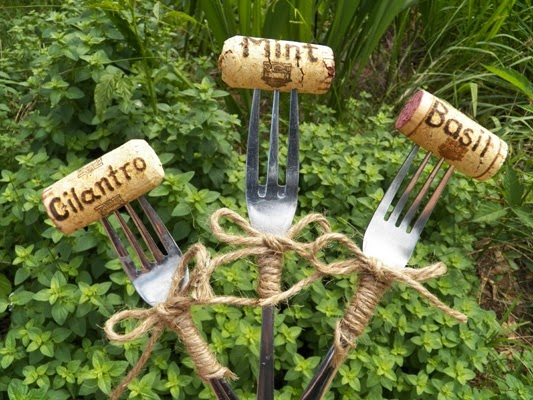
Step Three: Choose Your Containers
Once you have figured out your location for your herb
garden, it’s time to figure out what you will grow them in. There are so many different materials to use
depending on your style. Here are some
neat ideas we found to get your creative juices flowing.

Tips:
·
Containers should be at least 6 inches wide if only growing one herb in it.
·
If you are planning on using large containers
combine two or more plants into one. (Be sure to research herbs you wish to
combine to be sure they all require the same amount of sunlight and water)
·
Be sure containers have good drainage (this
could include poking a decent sized hole into the bottom to allow excess water
to drain.
Step Four: Planting
your Herbs
Potting Mix: For container gardens, it is actually
preferable to use “Potting Mix” rather than “Potting Soil”. What is sold as "potting soil" is likely to be
poor-quality and sticky with poor drainage. "Potting mix" is lighter,
made mostly from organic matter such as peat or composted plant matter, and
designed to give container plants the texture and drainage they need. Try to find potting mix with slow-release or
organic fertilizer pellets in it to avoid having to fertilizing every few
weeks.
Water:
Potting mix can dry out quickly so be sure to check the soil often by sticking
your finger into the soil. If it feels
dry an inch beneath the surface, it’s time to water.
Pruning:
Each herb is different when it comes to pruning. Be sure to research for each specific herb.
Step Five: Enjoy!
Herb
gardens are a wonderful way to add greenery and fragrance to your living
space. Once your herb garden takes off,
you can enjoy fresh herbs with a snip of the scissors.
We would love to hear what’s in your herb garden!


No comments:
Post a Comment